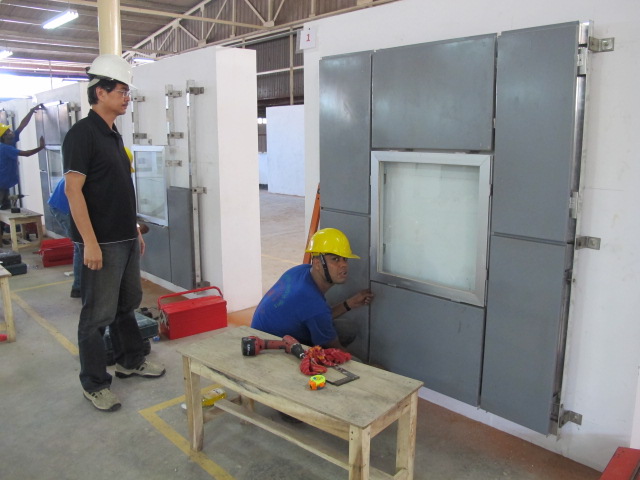
Cladding installation
Cladding Installation Instructions
Tools & Materials Needed:
Cladding panels/boards
Measuring tape
Level
Spirit level or laser level
Drill and screws or nails
Saw (circular or hand saw)
Hammer or nail gun
Safety equipment (gloves, goggles)
Weather-resistant barrier (house wrap or similar)
Battens or furring strips (if required)
Sealant or flashing tape (for waterproofing)
Step 1: Prepare the Wall
Inspect the wall surface for any damage, clean it and repair as needed.
Install a weather-resistant barrier (WRB) like house wrap over the wall sheathing to protect against moisture.
If required, attach vertical battens or furring strips over the WRB to create an air gap for ventilation and drainage.
Step 2: Plan the Layout
Measure the wall height and width.
Decide on the starting point (usually from the bottom left corner).
Mark horizontal and vertical reference lines using a level or laser level for precise alignment.
Step 3: Cut the Cladding Panels
Measure and cut cladding panels to the required lengths.
Leave a small gap (about 3-5 mm) between panels and around openings for expansion and contraction.
Step 4: Install the First Row
Start at the bottom and place the first row of cladding.
Fix the panels securely to the wall or battens using appropriate screws or nails.
Ensure the panels are level and aligned with your reference lines.
Step 5: Continue Installing Rows
Stagger joints between rows for better structural integrity and appearance (like brickwork).
Overlap panels as recommended by the manufacturer to ensure waterproofing.
Keep checking alignment and level regularly.
Step 6: Cut Around Openings and Corners
Carefully cut panels to fit around windows, doors, and corners.
Use flashing tape or sealant to waterproof these areas.
Step 7: Finish the Top Row
Cut the top row panels to fit under the eaves or fascia.
Secure panels and seal any gaps.
Step 8: Final Touches
Install any trim pieces or corner posts.
Apply sealant or caulking around edges and joints to prevent water infiltration.
Clean the surface and inspect for any loose fixings.
PLEASE CONTACT US FOR FURTHER INFORMATION
SB Group
- Beroon, Jamgora, Ashulia, Dhaka, Bangladesh.
- Email: fondaglobaltestcenter@gmail.com
- Phone: +880255035512