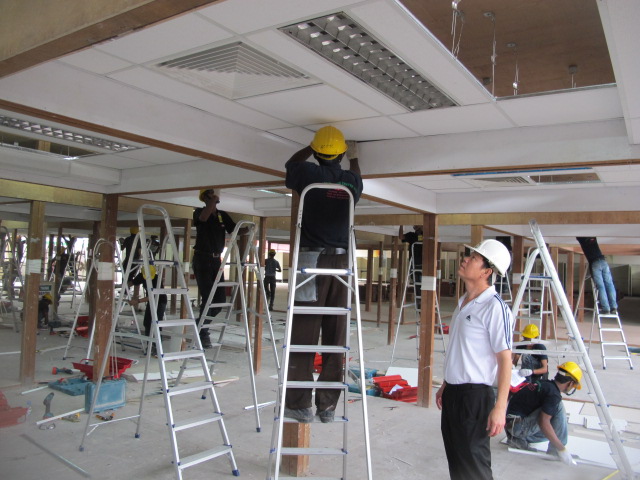
Suspended Ceiling installation(Acoustical)
Installing a suspended ceiling (also known as a drop ceiling or false ceiling) involves creating a grid framework below the existing ceiling and placing ceiling tiles into the grid. It’s commonly used in commercial buildings and basements to hide ductwork, pipes, or wiring, and to provide soundproofing and easy access for maintenance.
🛠️ Tools & Materials Needed:
*Tape measure
*Level or laser level
*Drill and screws
*Wire cutters
*Ceiling Board
*Wall angle (L-shaped)
*Main runners (T-bars)
*Cross tees
*Hanger wire (12-gauge recommended)
*Eye lag screws
*Wire ties
📏 Step-by-Step Installation Guide:
1. Planning and Layout
Measure the room to calculate the materials needed.
Plan your grid pattern (tiles usually come in 2’x2’ or 2’x4’ sizes).
Mark the ceiling height (typically 3-6 inches below the lowest obstruction).
Use a laser level or water level to mark a consistent line around the room walls.
2. Install Wall Angle
Attach L-shaped wall angles along the marked perimeter using screws or nails.
Ensure they’re level—this will support the edges of the ceiling tiles.
3. Hang Main Runners
Main runners are long metal strips that form the backbone of the grid.
Space them 2’ apart (on center) for 2’x2’ tiles or 4’ apart for 2’x4’ tiles.
Use eye lag screws and 12-gauge hanger wire to suspend the runners from joists or beams.
Cut wires to length, twist to secure, and level runners across the room.
4. Install Cross Tees
Insert cross tees perpendicular to the main runners to form a grid of 2’x2’ or 2’x4’ openings.
Cross tees snap into precut slots on the main runners.
5. Place Ceiling Tiles
Trim tiles as necessary with a utility knife.
Place them into the grid from above, ensuring they sit flush and even.
✅ Tips:
Always check local building codes for commercial installations.
Allow for light fixtures, HVAC vents, or access panels in your design.
Wear safety glasses and gloves when cutting tiles or metal pieces.
PLEASE CONTACT US FOR FURTHER INFORMATION
SB Group
- Beroon, Jamgora, Ashulia, Dhaka, Bangladesh.
- Email: fondaglobaltestcenter@gmail.com
- Phone: +880255035512