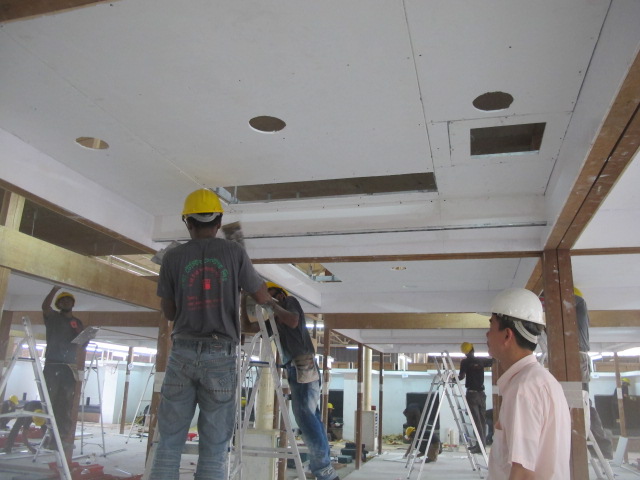
Suspended Ceiling installation Fibrous Plaster
ChatGPT said:
Installing a suspended ceiling with fibrous plaster involves creating a lightweight ceiling structure suspended below the main structural ceiling. Fibrous plaster is a decorative material typically made from gypsum plaster reinforced with hessian (jute) or fiberglass over a timber or metal framework. Here’s a comprehensive overview of how to approach this type of installation:
🛠️ Materials and Tools Required:
Materials:
Fibrous plaster ceiling panels or Mouldings
Galvanized steel suspension system (e.g., T-bars, hangers, channels)
Galvanized wire or adjustable hangers
Fixing screws, plugs, and anchors
Joint filler or adhesive (for plaster)
PVA bonding agent (if needed)
Tools:
Measuring tape
Spirit level or laser level
Power drill
Screwdriver
Saw or cutter
Trowel
Safety gear (goggles, gloves, mask)
🧱 Steps for Installation:
1. Planning & Design
Measure the room and draw a layout plan.
Determine the ceiling drop height and spacing for suspension points.
Decide on access panels if needed for services like lighting or HVAC.
2. Preparation
Mark the perimeter line on the wall where the suspended ceiling frame will sit.
Check that the structural ceiling can support the suspension load.
3. Install Perimeter Channel
Fix perimeter angles or channels along the marked level line using wall plugs and screws.
Ensure it is level around the entire room.
4. Install Suspension System
Fix hangers or wires to the ceiling using anchors (spaced typically at 1200mm intervals).
Hang main T-bars or channels from these hangers.
Add cross T-bars (e.g., every 600mm) to form the grid.
5. Mount Fibrous Plaster Units
Cut plaster units to size if needed.
Secure them onto the frame using screws or clips.
For decorative mouldings, bond with plaster adhesive and mechanically fix if necessary.
Ensure joints between units are aligned and finished smoothly.
6. Finishing
Fill joints and screw holes with a suitable joint compound.
Sand down to achieve a smooth surface.
Apply primer and finish with paint or sealant as required.
PLEASE CONTACT US FOR FURTHER INFORMATION
SB Group
- Beroon, Jamgora, Ashulia, Dhaka, Bangladesh.
- Email: fondaglobaltestcenter@gmail.com
- Phone: +880255035512