Timber Doors and Windows Installation
Timber Doors and Windows Installation Instructions
Tools & Materials Needed:
Timber door/window frame
Measuring tape
Spirit level
Hammer and nails or screwdrivers and screws
Wood shims (packers)
Drill with bits
Wood glue (optional)
Wood filler or putty
Sandpaper
Hinges (for doors)
Handles, locks, latches (hardware)
Sealant or weather stripping (optional)
Protective gear (gloves, goggles)
Step 1: Prepare the Opening
Check the rough opening where the door or window will be installed.
Ensure the opening is clean, square, and free from debris.
Measure width, height, and diagonal distances to confirm the opening is level and square.
Step 2: Dry Fit the Frame
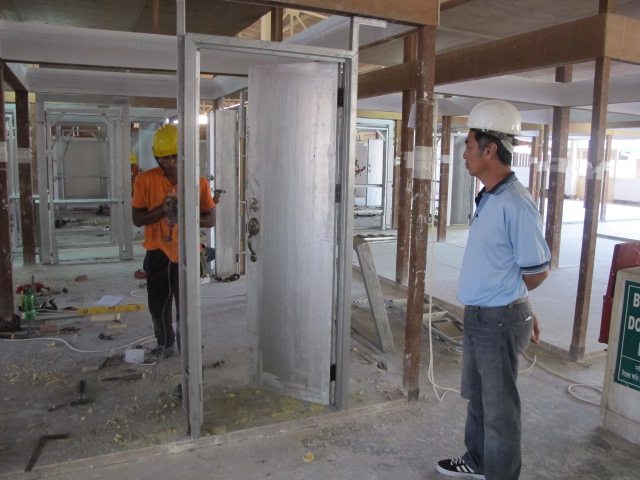
Place the timber door or window frame into the opening without fixing it.
Check for gaps between the frame and opening.
Use wood shims to level the frame and ensure it fits snugly.
Step 3: Position the Frame
With the frame held in place, check vertical (plumb) and horizontal (level) alignment using a spirit level.
Adjust with shims as needed, especially at corners and along the sides.
Step 4: Fix the Frame
Secure the frame to the opening structure using nails or screws through the frame into the surrounding wall.
Fix at multiple points on each side for stability.
Make sure to drive fixings through the thicker parts of the frame and avoid splitting the timber.
If necessary, drill pilot holes to prevent splitting.
Step 5: Attach Door or Window
For doors: Fix hinges to the door frame and door leaf, then hang the door.
For windows: Secure the window sash or panel into the frame as per design.
Check smooth operation—open and close the door/window to ensure no binding or gaps.
Step 6: Final Adjustments
Fill any gaps between frame and wall with insulating foam or filler if required.
Use wood filler to cover nail or screw holes. Sand smooth once dry.
Apply sealant or weather stripping around edges for insulation and weatherproofing.
Step 7: Install Hardware
Attach handles, locks, latches, and other hardware as needed.
Test all hardware for proper function.
Step 8: Finishing Touches
Sand any rough edges on timber surfaces.
Apply paint, varnish, or stain to protect timber and improve appearance.
PLEASE CONTACT US FOR FURTHER INFORMATION
SB Group
- Beroon, Jamgora, Ashulia, Dhaka, Bangladesh.
- Email: fondaglobaltestcenter@gmail.com
- Phone: +880255035512